Friday, 28 March 2014

Roast tomato soup

The EWN (early warning network) put out a warning notice about heavy rain and flash flooding yesterday.  And yes it rained and flooded!  And it looks like a lot more is to come by that grey cloud out the window.
There's not a lot you can do with a day like this, and I remembered that there was not just one but 2 bags of tomatoes in the downstairs fridge that needed using up soon.  I do my grocery shopping online, and I had somewhat amusingly managed to buy 2 bags rather than just 2 tomatoes for Mr Picking's lunchtime sangers (sandwiches to those of you not in the know).
Soup seems perfect on a rainy day, and it meant I would use up those pesky extra fruits.  Roasting them with the other vegies (oops, now I am calling them vegies) before making it all into a soup gives it a wonderful rich and sweet flavour.  But I still have some tomatoes left over, so who knows what comes next?!

Ingredients:

1.5 kg tomatoes- chopped into chunks-no need to skin them
2 medium red onions- roughly chopped into wedges
4 cloves garlic
2-3 small red chillies - I used 4 and wow was it hot!  (Mr Pickings likes it like that)
2 tbs brown sugar
2 tbs vinegar- I used caramelised strawberry balsamic because I had it in the pantry but use whatever you fancy
2-3 tsp dried oregano
2 tsp smoked paprika
1 tsp sea salt flakes
pepper to taste
1 tbs olive oil
1 tsp chopped ginger
1.25L of chicken stock
fresh coriander leaves

Method:

Simply throw tomatoes, onions, garlic and chillies into a roasting pan, then the sugar, vinegar, oregano, paprika, salt and pepper get scattered over and then you toss it all together
Roast for about an hour at 175C till it smells delicious, and the tomatoes etc look softened and toasty at the edges.  
Grab a big saucepan and heat up the olive oil
place your tomatoey mixture into the pan with the ginger and stock (and extra salt and pepper if you wish)
simmer gently for half an hour, cool a little, then blitz for a few minutes with a handheld stick blender.  This saves you having to take it out of the pan, whizz in a blender then put back in the saucepan.  Warm it up again if you wish.
Serve with fresh coriander leaves and a dollop of sour cream-- very warming!
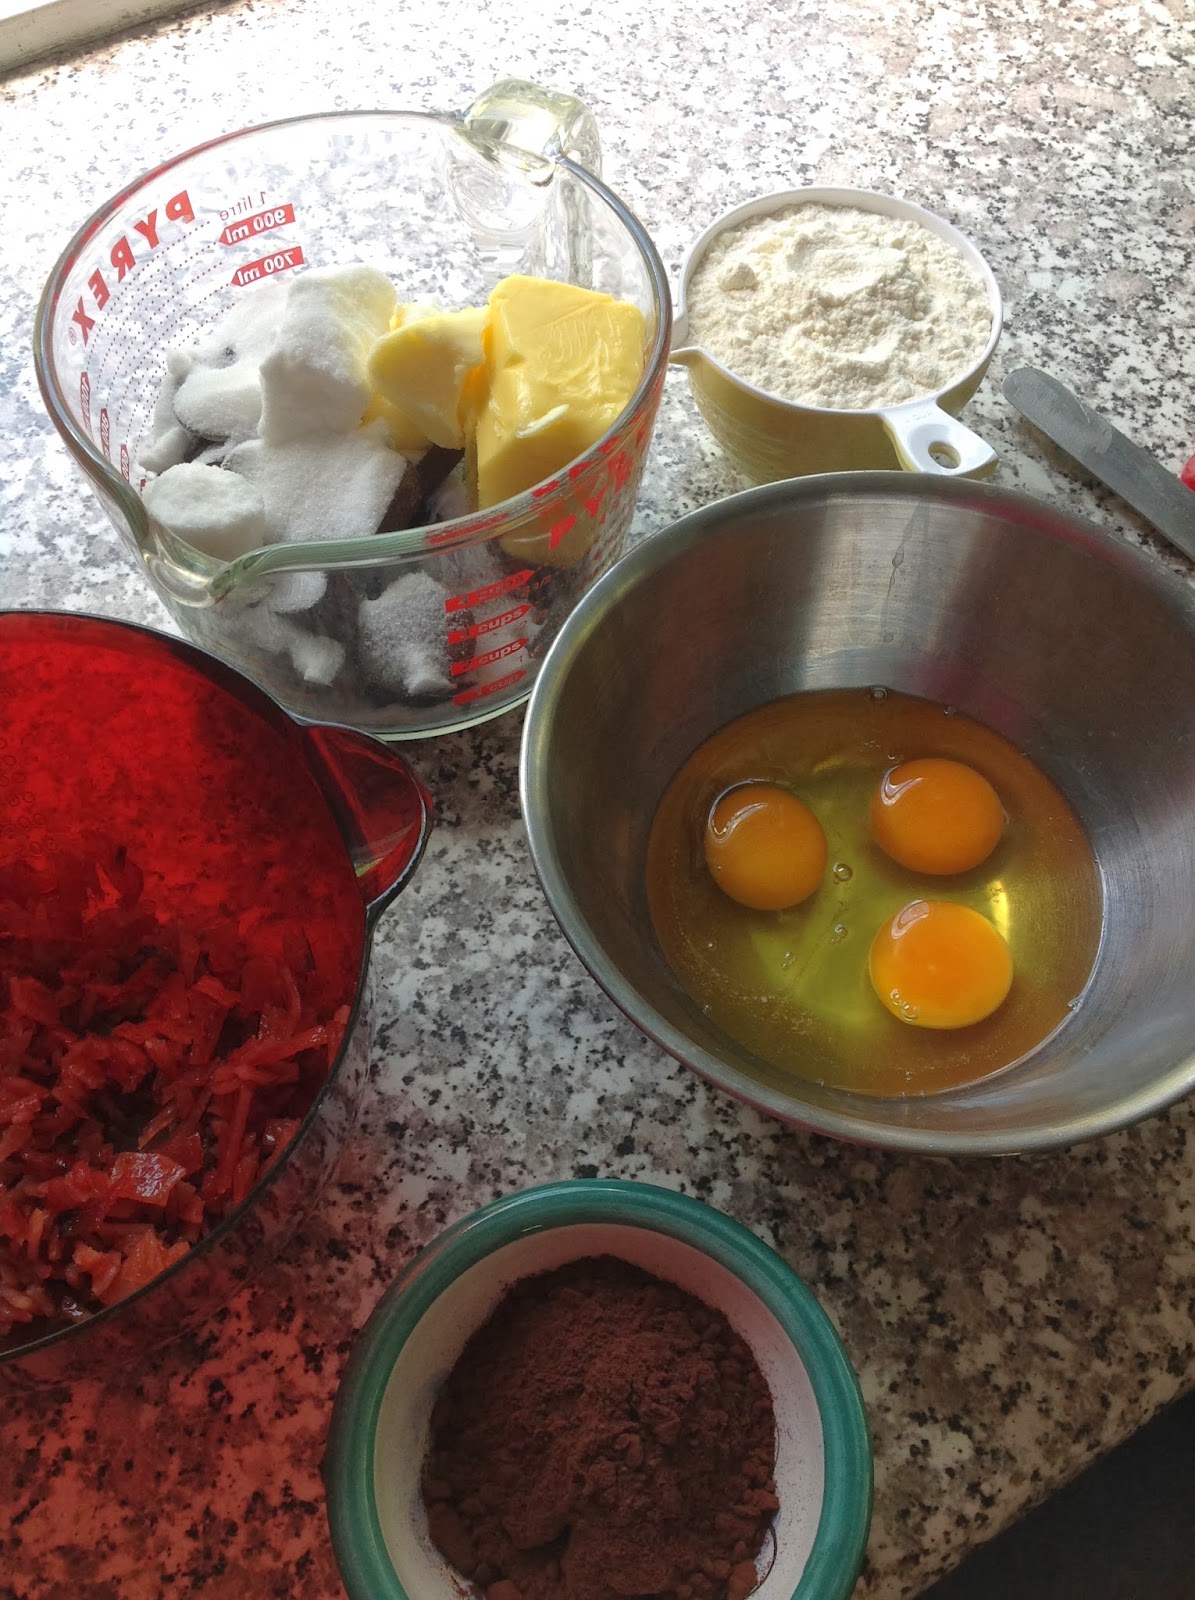

the ingredients


all chopped up and nowhere to go- except in the pan

chicken stock- luckily I had a bit of home made in the fridge

about to simmer for half an hour

all souped up!


yum- ready to eat


Saturday, 22 March 2014

Nectarine chutney

Mr. Pickings and I love a good road-trip, especially to one of our fave spots- northern NSW.
Byron Bay hinterland (photo from byronbayadventuretours.com.au)
We steer clear of the heavily-touristed and expensive parts like Byron Bay, and head for them thar hills!  Or Ballina--which is right on the river and also very close to the sea so that you can encounter sea-turtles and dolphins in the river, and in the season, whales just past the breakwaters.  We once had the pleasure of seeing a dolphin leaping around in front of us right next to the riverbank, only a metre away.  I think my favourite would have to be the sea-turtles; they are slow and ponderous and just lovely to watch.  (And also in danger from speedboats, plastic rubbish and discarded fishing lines).

beautiful sea turtle (image from www.documentingreality.com)

It is also a foodies' paradise down there with coffee and macadamia plantations, farmers' markets,  a well-known cookie company and lots of great little cafes serving local and often organic foods.
I have an old clipping from a magazine with a recipe for Byron Bay nectarine chutney, and once a year when the fruit is plentiful, I get cracking and make a big batch.  There are lots of chutney recipes on the Net so you can try all sorts of variations accordingly.  But here is the one I have used with a few of my own little changes.

Ingredients:

1 kg nectarines- chopped into small chunks
2 onions finely chopped
500g sultanas or raisins- I like sultanas!
150g glace ginger
850g-1kg sugar- depends how sweet you like it
3-4 small red chillies chopped finely
4 tsp yellow mustard seeds
700ml vinegar- I like to use a mix of white wine, sherry and whatever other vinegar I have in the pantry
1-2 tsp salt-  I had used 1 tsp but found it needed more
pepper

Method:

Shove everything into a large, heavy-bottomed pot, and mix it all up together
bring to the boil, then simmer with frequent stirring to prevent sticking for anything from 1.5 hours to 3 hours
then bottle in sterilised jars and whack in the fridge for up to a year.  I know it sounds scary to cook for so long but you can do lots of other things in between and just give it a stir every so often.  I think it may have been that my nectarines were very unripe- more like apples-that it took so long to thicken.  I also have a sneaking suspicion that I didn't turn the stove-top high enough so that it wasn't particularly hot even after an hour.  So learn from my mistakes- make sure the heat is high enough and try to get ripe fruit.  The recipe says it should only take an hour and a half, and I have made it in that time before!

beautiful fruit ready for the chop
everything chopped and ready for the pan

ok here we go- 3 hours of simmering to come
see my beautiful wooden stirring spoon-it came from the mantelpiece of an old homestead in Tenterfield

looking thick after a couple of hours


ladle the chutney into a Pyrex jug so you can easily pour it into the jars

the end result!  lots of lovely jars of chutney to see you through till next stone fruit season-unless you eat it all first...


Thursday, 13 March 2014

Finger lime curd

Our friend the potter lives in the northern NSW hinterland, home of the native finger lime.  She recently came for a visit bearing lovely gifts, including coffee from their farm, wild lemons, finger limes - oh and a beautiful handmade bowl fresh out of the kiln.  (see her gorgeous stuff here).  We used some of the beautiful and colourful tiny pearls on a smoked salmon salad, and I found a recipe for finger lime curd as we still had quite a few in the fruit bowl, and I wanted to make something delicious with them.
The secret with this curd is to make it, let it cool and then add the gorgeous limey many coloured little bombs of flavour so they burst in your mouth when you eat it.
You can find the recipe from the blog I found here.  I have rewritten the measurements for Aussie standards.


Ingredients:


200 grams sugar- I used caster sugar
60g of butter
2 eggs, beaten
1 tsp finger lime zest
100mls lime juice from regular limes - I had 2 juicy limes so this made up 100mls but it could take 3-4 depending
1/4 cup finger lime caviar- I used 9-10 finger limes

Method:
grate 1 teaspoon zest from the finger limes;  I grated 9 of them to make a scant teaspoon as the skin is so fine
whisk the sugar, eggs, zest and lime juice in a medium saucepan then cook over low heat for about 20 minutes.  I found it went very thick in about 5 minutes, but I kept on for the whole 20 minutes
You then stir in the butter off the heat and place into a glass bowl.  Cover the curd with plastic wrap pressed onto the surface and whack in the fridge for an hour till it is cool.
Then stir the caviar in gently and bottle into sterilised jar (s).

ingredients out and finger limes zested

whisked in the pan

butter added in

curd all cooked up and about to go in the fridge for an hour to cool

cling wrap on the surface to keep out the wrinkles

 finger lime pearls-love the colours! each one is a surprise; some are orange some pink some yellow some green

stirring in the caviar

and a friend gave me a finger lime tree!  lucky me!


Saturday, 8 March 2014

Choc/bacon brownies

I have often wondered about cannibals.  These days there are lots of theories that there have never been, or rarely been any peoples who indulged in a little fricasseed human flesh.  I think there must have been a little of it going on, else why would we have the term "long pig" for human hotpots?
Perhaps I am weird (hubby would say definitely);  I adore bacon as do most people (even the occasional dedicated vegetarian?) but I cannot stomach pork. The flesh just seems so dense and pink, and reminds me of a good chunk of my own arm or leg.  And I just can't stop thinking of "long pig".
But aaah bacon!  Who can resist its siren call?  It is very popular lately in all sorts of sweet and savoury recipes, and of course sweet with savoury.  I first tried this flavoursome combo when I made Lorraine's (from her Not Quite Nigella blog) bacon and maple syrup ice cream.  There is something about bacon and maple syrup that those clever Americans have right!  I remember we once had a most fabulous breakfast in Yosemite National Park; the restaurant of the Wawona lodge in which we stayed included lots of the above. This was especially welcome after having had no dinner the night before, as you had to wear evening dress to get in the one and only eating establishment, and we just happened to have forgotten the tux and ball gown!
I recently came across Nigella's choc/bacon brownie recipe on the Net and had planned to make them until I read a post from the blog Realfoodgirlunmodified.  She was very scathing of this recipe, so I thought I would hunt around for something else.  I found a recipe in my cookbook collection- from The Age Epicure chocolate book, which I used as a basis for my own recipe.  So here is my version of this slightly chewy, sweet and savoury delight.

Ingredients:

125g rindless, good quality bacon
2 tbs maple syrup
300g dark chocolate
115g butter
150g caster sugar (I may try brown sugar next time as most brownie recipes call for that)
3 eggs beaten
1 cup plain flour
30g dark cocoa
1 tsp bicarb soda
100g white chocolate-chopped
100g nuts- try your fave- I used a mix of hazel, walnut and pecan

Method:

(Prepare your baking tray by lightly greasing and lining with baking paper.  I used a foil, throwaway baking dish 30cm x 20cm.)

Place the bacon on a lined baking tray with the maple syrup.  Put in a low to medium oven-around 170C-and bake for 10 minutes.  Then throw on the syrup and place back in the oven for 10 minutes.  Bring it out, turn over the bacon and bake for another 10 minutes.  Let it cool, then cut up or snip up with kitchen scissors, into very small pieces.
Melt the dark chocolate, butter and sugar together- I did this in a Pyrex jug in the microwave for about 70-80 seconds (it depends on the wattage of your microwave)
Transfer this mixture into a large bowl, then stir in the eggs
Then sift over the flour, cocoa and bicarb and mix well
Add the white choc bits and nuts and mix it all till you get a shiny, lumpy bowlful of delicious batter
Bake this for 20 minutes- no more!- at 180C.  You want it to still be a bit gooey in the middle.
Cool and cut into squares.

love my cow butter dish!

bacon and syrup ready for the oven

bacon out of the oven-ready to be snipped up

all the ingredients ready to go!

chocolate butter and sugar melted together in the microwave

dry ingredients sifted over the bowl of wet ingredients

batter about to go in the oven at 180C for 20 minutes

mysteriously, unexpected visitors kept dropping in to try it out

who could resist that corner?


Thursday, 27 February 2014

Baked mocha doughnuts

We grew up in the Victorian countryside as children.  It was mostly wet and cold there, with a few months (if you were lucky) of very hot weather and potential bushfires.   The tiny house we lived in had no hot water, flushing toilet or heating.  In fact, only a few months ago we were visiting relatives down there and came across roadworks as they were finally putting in town sewerage!
My parents were very conventional food-wise so meat and 3 veg were the go most of the time.  I only got to try a lot of different foods when I left home and went to live in share houses with hippies who were either vegetarian or vegan, dope-smoking, guitar playing, free loving, folk dancing crazies...
So, to get to my point, I had most likely never eaten a doughnut till I was in my 20's.  I don't like to fry foods- not because of health issues but because I am a total chicken when it comes to hot oil spattering at me.  I love kitchen gadgets, and I have quite a collection of variously-shaped baking pans so how could I resist the cute as a button doughnut pan at my local shopping centre?
There are some interesting-looking recipes for baked doughnuts on the Net, but I decided to have a go at this one from Shutterbean's blog.  I am a big coffee fan so the hint of coffee in this one attracted me, though I would like to try many more!

Ingredients:

  • 1 cup plain flour
  • 1/4 cup dark cocoa powder
  • 1/2 teaspoon baking soda- yes I stuck to this even tho I wondered if baking powder was meant
  • 1 tablespoon instant coffee powder
  • 1/4 teaspoon salt
  • 1/2 cup buttermilk
  • 3/4 cup packed brown sugar
  • 1 egg
  • 1/4 cup vegetable oil-I used peanut oil as you want one with very little taste
  • 1 teaspoon vanilla extract

for the topping:

  • 1 teaspoon instant coffee powder
  • 1 tablespoon hot water
  • 90g. cream cheese, melted- I shoved this in the microwave for 25 seconds
  • 1 cup icing sugar
  • 1 teaspoon vanilla
  • 1-2 tablespoons milk- I found I needed very little milk; perhaps even none
  • chocolate sprinkles or whatever bling you have (optional)

  • Method:
Set your oven to 170C.  Grease your doughnut pan, by either spraying it with oil or rubbing a bit of oil around each little hole especially around the spindle.  In a large bowl, whisk flour, cocoa, baking soda, coffee powder and salt together (or sieve them!.)  In a small bowl, whisk buttermilk, sugar, egg, oil and vanilla until smooth. Add wet ingredients to the dry ones; whisk together till well-combined.
Spoon batter into a jug with a good lip. Pour the batter into your oiled doughnut pan, making sure you leave a bit of room at the top so they can spread out whilst baking.  Bake for 10-12 minutes, until doughnuts spring back when lightly pressed. Cool them in the pan for a few minutes, then carefully turn out onto a rack to cool completely.
In a small bowl, combine the coffee powder with hot water and stir until dissolved. Add melted cream cheese and stir until you get a lovely smooth dark liquid. Add the icing sugar in 2 or 3 lots, then stir in the vanilla, and add the milk to thin out glaze if necessary. If the consistency is too thin, add more sugar. If too thick add a bit more milk.  (I found it very thin, and probably should have used only 1 tbs of milk).
Dip doughnuts into bowl of glaze and allow the excess to drip back into the bowl. Place them on the rack. Top with bling and eat!

dry ingredients


wet ingredients

ready to mix in

batter ready for the oven

they look so cute when they come out

ingredients for the glaze


all blinged up and ready to eat!

pretty enough to eat


Wednesday, 19 February 2014

Mango chutney

Mr Pickings and I are fast eaters so when we go to a restaurant we are usually in and out in about an hour. When we do eat out with friends, they often ask me to pick the restaurant.  This has turned out to be a good idea usually as the few times various friends have done the choosing, I have ended up with food poisoning. Co-incidence you may say.  A sinister plot I say!
Once, vegetarian friends chose a Himalayan cafe where the food was not only tasteless and disgusting, but it gave me the worst bout of food poisoning ever.  I could not believe that vegetable curry could make you so ill!   Anyway Mr Pickings loves a good curry and he loves a good chutney to go with it. So every year about this time, I make up a big batch of mango chutney as they are cheaper than in early summer. I add chillies from a friend's garden (kept in the freezer since last winter), and bio-dynamic garlic from Patrice Newell's farm.  (I buy a box in January and break up the heads into cloves, then freeze them to have over the coming year).
We were up in the Sunshine coast hinterland last week where mangoes were plentiful and organic.  Strangely enough Mr Pickings and I do not eat mangoes on their own but enjoy them cooked up into a chutney.  I use a recipe from an old Margaret Fulton book- you know, one of those little books that have her name on but really have little else to do with her.  We saw the same books in the UK years ago with the name of whoever was the cook du jour.  So this little book of Indian Cooking has been very useful over the years (it also has a fab recipe for home-made yoghurt).
Ingredients:
1 kg of mangoes- I have used ripe or a bit green- either seems to work
2 cups sugar
2.5 cups of vinegar
5 cm piece of ginger- grated
4 cloves garlic-chopped finely
2-4 chillies- depending on taste
1-2 tbs of yellow and/or brown mustard seeds
1 tbs sea salt
1 cup sultanas

Method:

peel and dice the mangoes
place the sugar and vinegar in a medium saucepan, bring to the boil then simmer for 10 minutes
throw the finely chopped garlic and chillies, and grated ginger into the pan and simmer for another 10 minutes
then add the mango and the rest of the ingredients into the mix and simmer away for at least 25 minutes, stirring now and then.  I have found it can take up to 40 minutes to get it nice and thick.
Spoon it into hot sterilised jars and store for up to a year in the fridge.

ready to cook-those mangoes look luscious

aromatics ready for the chop

mangoes being chopped


aromatics ready to be cast to their doom in a boiling pan

all go!

finished!

looking good!


Saturday, 15 February 2014

German sour cherry cake

Who hasnt made a stoopid mistake now and then?  Well I have to confess I had a bit of a slip-up with this cake the other day.  I have had this recipe for ages (from Vogue magazine probably about a dozen years ago) and have made it a number of times but I always seem to have a bit of trouble getting it just right.  I think it is due to the tiny amount of flour, the very juicy cherries and the number of eggs which makes it a very soft batter, which I never get quite right in the oven.   (I have a very temperamental gas oven with a door that doesn't quite close so any recipe has to be adjusted by about 25-30C higher and a bit of a guess at timing.)  It is always an adventure with baking in my kitchen!  Like going on the high seas.  You never know quite where you will end up so to speak.   Anyway I gave it another try this week, only to have somewhat of a disaster.  But I am sure that anyone with an oven door that actually closes, and a good thermostat can get this to come out beautifully!
My cake almost ended up on the kitchen floor but I managed to save it so that Mr Pickings could enjoy it in a bowl with lots of vanilla icecream and a big spoon.

Ingredients:
200g butter
200g sugar
4 eggs
200g ground almonds (tho I use a mixture of almond and hazelnut meal-try 100g of each)
100g of chocolate bits- I like to use the big ones that look like buttons rather than tiny choc chips
3 tbs of rum
1 tsp cinnamon
1 tsp baking powder
75g wholemeal plain flour
1 jar of morello or other sour cherries, well drained

Method:
Beat the butter and sugar together till nicely creamed and smooth.  Beat in the eggs one by one till well-incorporated. At this point my batter looked curdled but never fear, it all comes together at the end.
Add the almond and/or hazelnut meal, chocolate, rum and cinnamon and beat it all into the batter till well combined.
Sift the flour and baking powder into the bowl, and stir in, then plop in the cherries and fold them beautifully into the soft and luscious batter.
Spoon it into a springform tin that has been lightly greased on the bottom and lined with baking paper, then bake at 175C for about 45 minutes or till your skewer comes out clean.
I think it best to let it sit in the tin for 5 minutes then whack it on a cake rack to cool completely.
Dust with icing sugar and devour.

don't those eggs look gorgeous-just so round and orange-(try to use free range)
adding almond and hazelnut meal

all ready to be folded in
such beautiful little orbs
just out of the oven-before the big disaster!

batter about to go in the oven


here is where it all went to hell in a handbasket!

this is what it SHOULD look like!